
X10 Security Keyfob Remote (KR32A) — Instructions
Complete instruction sheet for the X10 Security Keyfob Remote, Model KR32A, part of the X10 Supervised Security System.
Full text manual (for reference)
Complete instruction sheet for the X10 Security Keyfob Remote, Model KR32A, part of the X10 Supervised Security System.
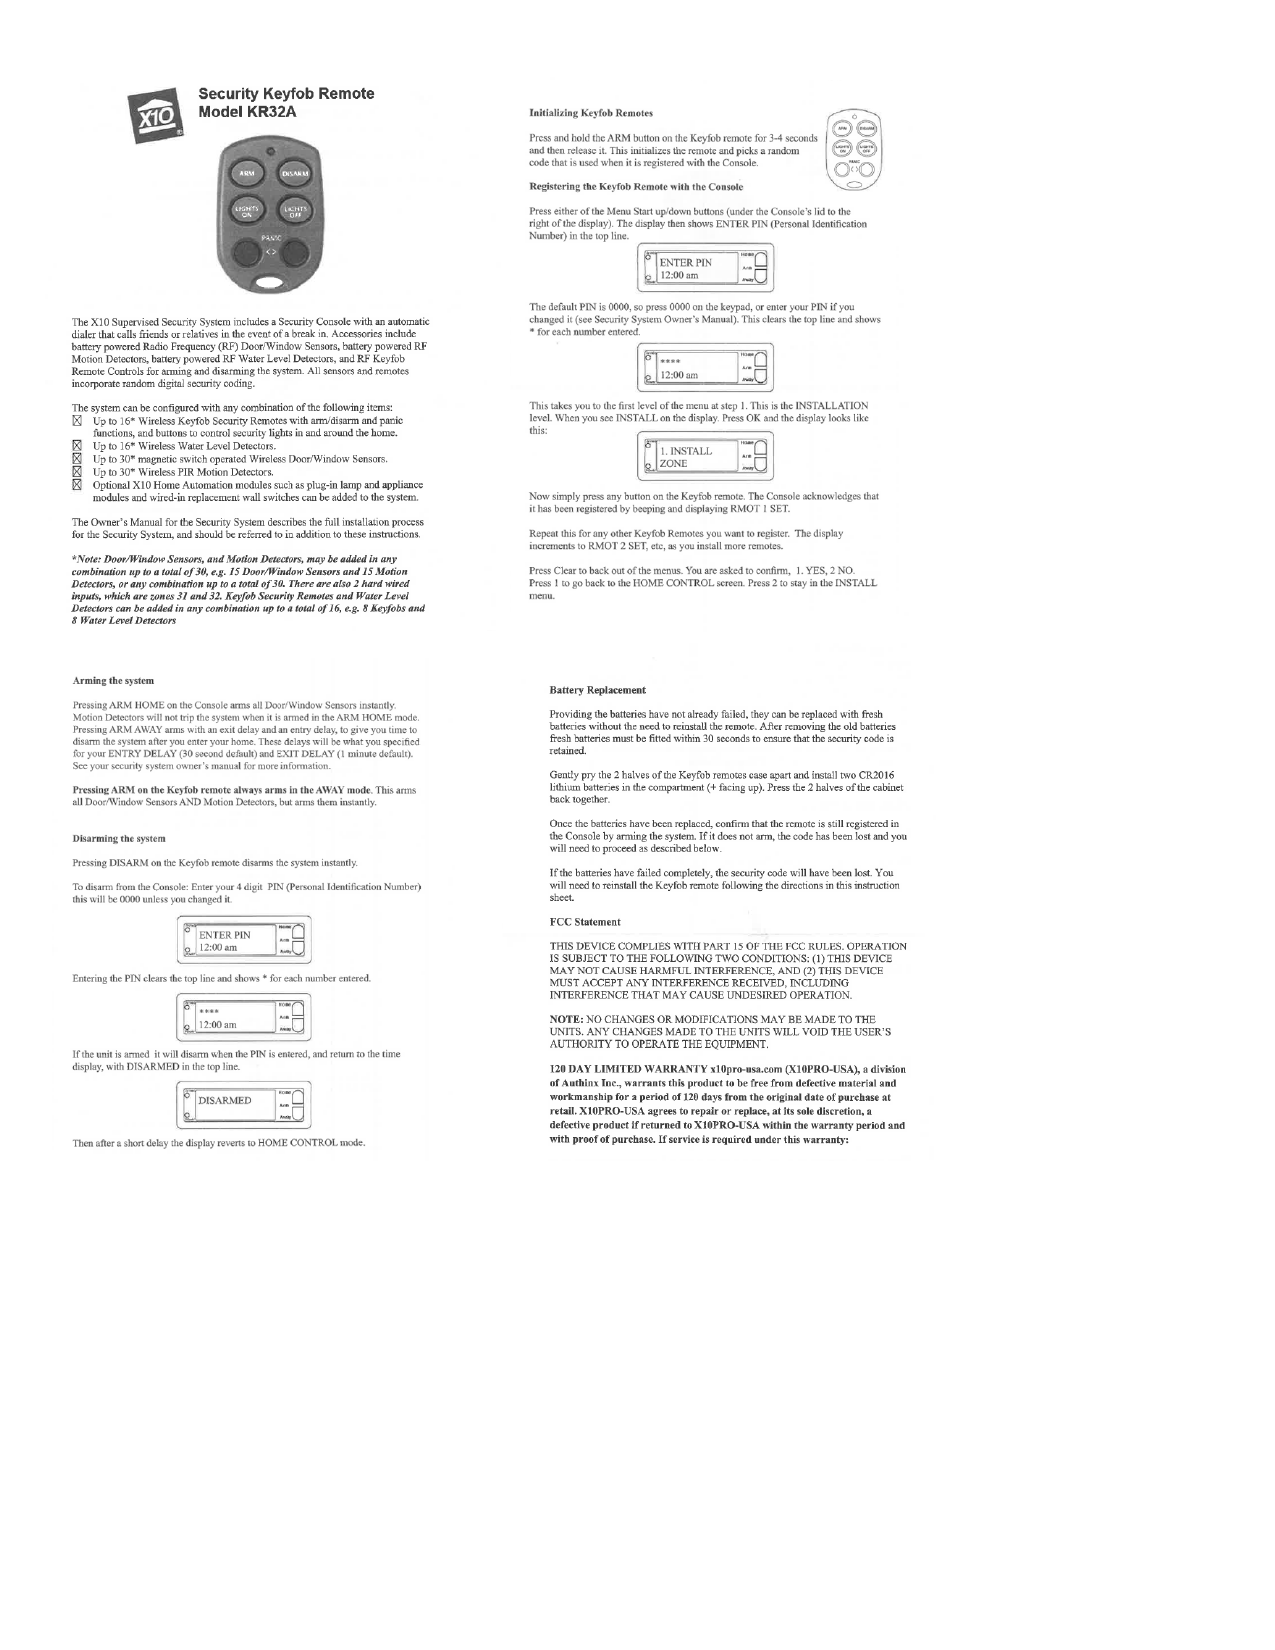
Overview
The X10 Supervised Security System includes a Security Console with an automatic dialer that calls friends or relatives in the event of a break-in. Accessories include battery-powered RF Door/Window Sensors, RF Motion Detectors, RF Water Level Detectors, and RF Keyfob Remote Controls (like the KR32A) for arming and disarming the system. All sensors and remotes use random digital security coding.
System Capacity
- Up to 16 Wireless Keyfob Security Remotes with arm/disarm, panic, and security-light control buttons.
- Up to 16 Wireless Water Level Detectors.
- Up to 30 magnetic-switch Wireless Door/Window Sensors.
- Up to 30 Wireless PIR Motion Detectors.
- Optional X10 Home Automation modules (plug-in lamp/appliance modules, wired-in wall switches) can be added.
Note: Door/Window Sensors and Motion Detectors may be combined up to a total of 30 (e.g., 15 + 15). There are also 2 hard-wired inputs (zones 31 and 32). Keyfob Remotes and Water Level Detectors may be combined up to a total of 16. Refer to the Security System Owner’s Manual for full installation details.
Keyfob Buttons
The KR32A keyfob has five controls: ARM, DISARM, LIGHTS ON, LIGHTS OFF, and PANIC.
Arming the System
- Pressing ARM HOME on the Console arms all Door/Window Sensors instantly; Motion Detectors will not trip the system in ARM HOME mode.
- Pressing ARM AWAY arms with an exit delay and entry delay (default: 30-second entry delay, 1-minute exit delay unless changed) to give you time to leave and re-enter.
- Pressing ARM on the Keyfob always arms in AWAY mode — arming both Door/Window Sensors and Motion Detectors instantly (no delay).
Disarming the System
- Pressing DISARM on the Keyfob disarms the system instantly.
- From the Console: enter your 4-digit PIN (default 0000 unless changed). The display clears the top line and shows an asterisk for each digit entered. Once the correct PIN is entered, the display shows DISARMED, then reverts to the Home Control time display after a short delay.
Initializing a Keyfob Remote
Press and hold the ARM button on the Keyfob for 3–4 seconds, then release. This initializes the remote and assigns a random security code used when it is registered with the Console.
Registering the Keyfob with the Console
- Press either Menu Start up/down button (under the Console’s lid, right of the display). The display shows ENTER PIN.
- Enter the PIN (default 0000, or your custom PIN). The display shows an asterisk for each digit.
- This takes you to menu step 1, INSTALL. Press OK.
- Press any button on the Keyfob remote. The Console beeps and displays RMOT 1 SET to confirm registration.
- Repeat for additional remotes — the display increments (RMOT 2 SET, etc.).
- Press Clear to exit the menu. Confirm with 1 (YES) to return to the Home Control screen, or 2 (NO) to stay in the INSTALL menu.
Battery Replacement
- Batteries can be replaced without reinstalling the remote, as long as fresh batteries are fitted within 30 seconds of removing the old ones (to retain the security code).
- Gently pry the two halves of the Keyfob case apart and install two CR2016 lithium batteries (+ facing up). Press the case halves back together.
- After replacing batteries, confirm the remote is still registered by arming the system. If it does not arm, the security code has been lost and the remote must be reinstalled/re-registered following the steps above.
FCC Statement
This device complies with Part 15 of the FCC Rules. Operation is subject to the following two conditions: (1) this device may not cause harmful interference, and (2) this device must accept any interference received, including interference that may cause undesired operation. No changes or modifications may be made to the units — any changes made will void the user’s authority to operate the equipment.
Warranty
120-Day Limited Warranty: x10pro-usa.com (X10PRO-USA), a division of Authinx Inc., warrants this product to be free from defective material and workmanship for 120 days from the original date of purchase at retail. X10PRO-USA will repair or replace, at its sole discretion, a defective product returned within the warranty period with proof of purchase.