
Skydrop Wi-Fi Sprinkler Controller — Installation and Quick Start Guide
Installation and Quick Start Guide for the Skydrop Wi-Fi smart sprinkler controller — replacing your existing controller, mounting, wiring, and connecting to Wi-Fi and the mobile app.
Full text manual (for reference)
Quick reference guide for the Skydrop™ Wi-Fi smart sprinkler controller — replacing an existing controller, mounting the wall plate, wiring, and connecting the controller to Wi-Fi and the mobile app.
Before You Begin
- Power down first: if you need to remove the controller, press and hold the power button on the bottom of the device until the jog dial glows yellow, then wait 10 seconds before detaching it from the wall plate.
- Wireless access: the Skydrop controller uses Wi-Fi and must be installed close to a strong signal source. If signal strength is low, move your wireless router or install a Wi-Fi range extender.
- Installing outdoors: Skydrop is designed for indoor installation. If placed outdoors, it must be encased in a weather-resistant enclosure (see skydrop.com/outdoors).
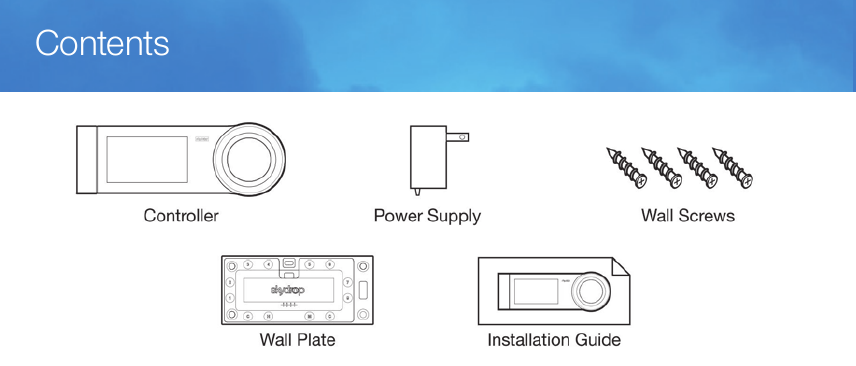
Step 1: Remove Existing Sprinkler Controller
- Take note of your valve wire numbering and common wire(s) — usually white. Tip: take a photo of the wiring with your smartphone before disconnecting anything.
- Disconnect wiring and remove the existing controller from the wall.
- Straighten and strip wire ends to expose leads to the recommended length (3/8" to 1/2", or 9.5mm to 12.7mm).
Step 2: Mount the Skydrop Wall Plate
- Position the wall plate using its integrated level, and secure using the included anchor screws.
- Tip: install at eye level for optimal screen viewing.
- Wall anchors are not necessary when mounting to drywall. When mounting to wood studs, pre-drill with a 1/8" (3mm) bit. Do not over-tighten screws — hand-tightening is recommended.
Step 3: Install Power and Wiring
Insert the power cable through the bottom wiring slot (or through the breakaway tab on the rear of the wall plate) and secure into the top, center plug. Connect valve wires, then pull each gently to verify it's secure. The "C" positions are for common wire(s). To remove a wire, press its corresponding button and pull out.
- Common
- Hot Position (for testing)
- Master Valve (optional)
- Common
Step 4: Place Controller onto Wall Plate
Align the snap pegs on the back of the controller with the corresponding holes in the wall plate and press together. The Skydrop logo illuminates once the controller is powered.
Step 5: Initial Setup
The controller will guide you through initial setup to connect to your Wi-Fi network.
- Using the jog dial: rotate to navigate, push the ring to select, and press-and-hold to go back to the previous screen.
- Create your account: visit my.skydrop.com to create your user account and manage the controller online.
Step 6: Mobile Control
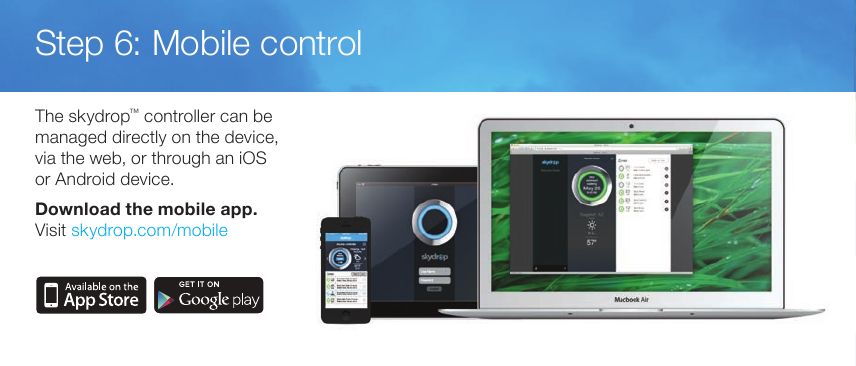
The Skydrop controller can be managed directly on the device, via the web, or through an iOS or Android app.
Safety
CAUTION: Battery may explode if mistreated. Do not recharge, disassemble, or dispose of in fire.
Support
Contact Skydrop support directly rather than the retailer for assistance: skydrop.com/support, support@skydrop.com, or call 1-844-SKYDROP (1-844-759-3767).