
PCS PulseWorx UPB Gateway (PGW) — Quick Start Guide
Quick start guide for the PulseWorx UPB Gateway (PGW) — connect your UPB powerline network to UPStart software over Ethernet/IP.
Full text manual (for reference)
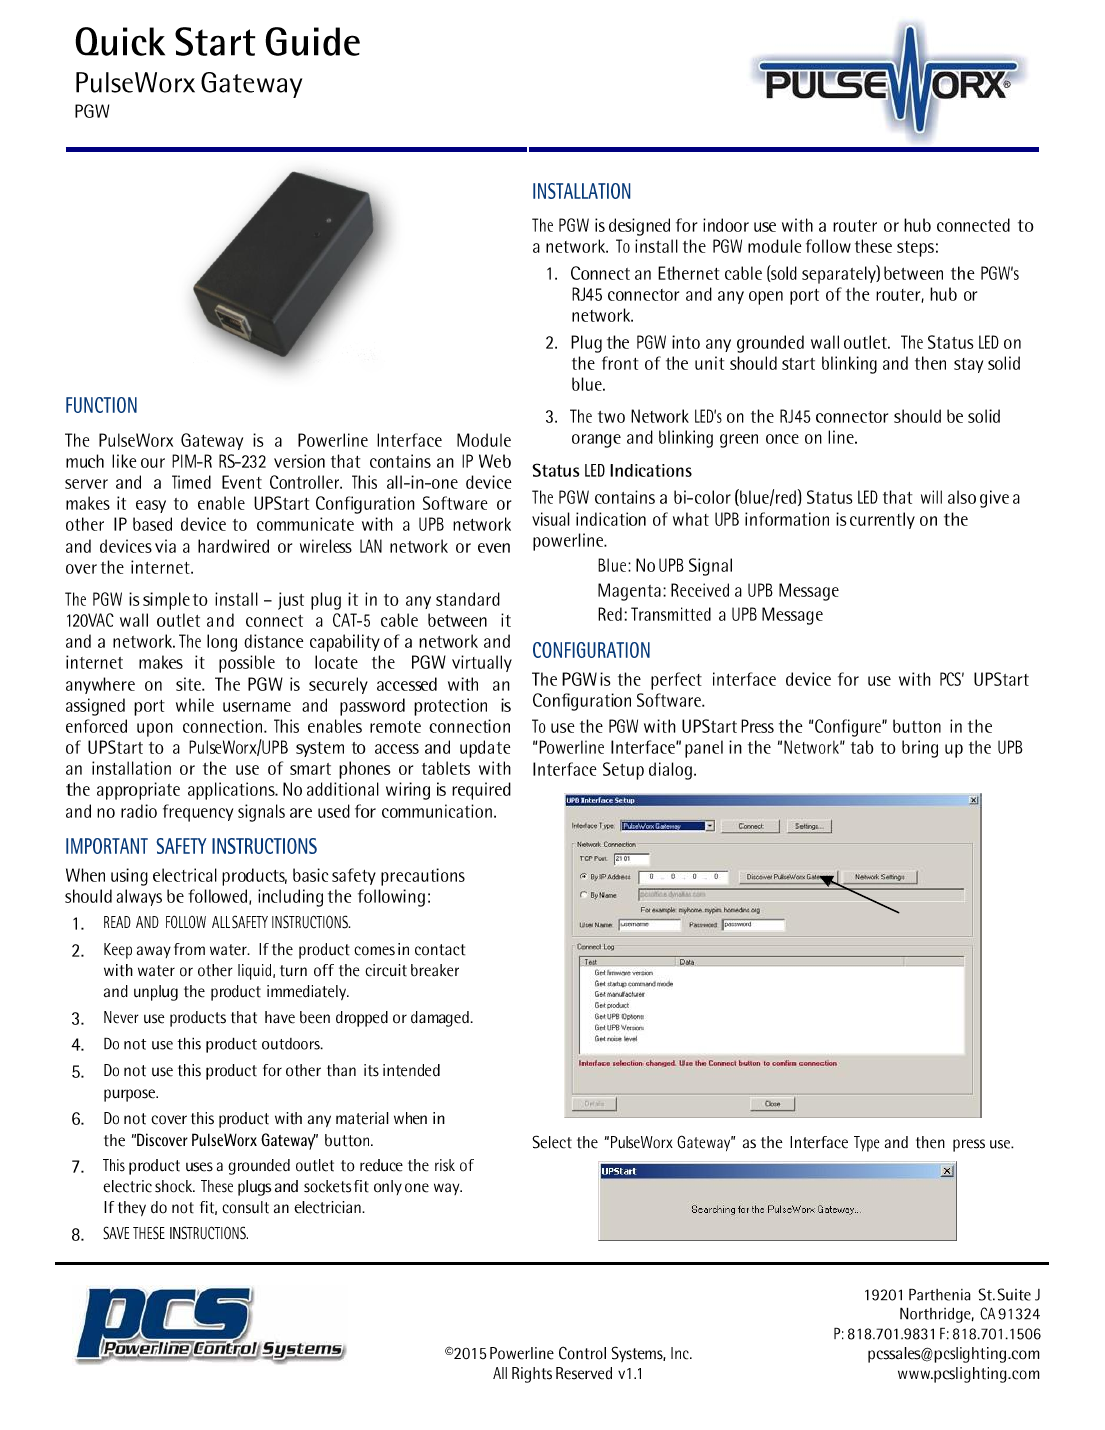
Quick start guide for the PulseWorx UPB Gateway (PGW) by Powerline Control Systems (PCS) — an IP-connected Powerline Interface Module with a built-in web server and Timed Event Controller for UPB (Universal Powerline Bus) networks.
Overview
- Functions like a PIM-R (RS-232 Powerline Interface Module) but connects over Ethernet/IP instead of serial.
- Lets UPStart Configuration Software (or other IP-based devices) communicate with a UPB network over a hardwired/wireless LAN or the internet.
- Remote access is secured with username/password and configurable port assignment.
- Plugs into a standard 120VAC outlet — no additional wiring or RF signals required.
- Ships in DHCP mode by default; supports assigning a static IP address.
- 5-year limited warranty from date of purchase.
Installation Steps
- Connect an Ethernet cable (sold separately) between the PGW's RJ45 connector and an open port on your router/hub/network.
- Plug the PGW into any grounded wall outlet. The Status LED should blink, then turn solid blue.
- The two Network LEDs on the RJ45 connector should turn solid orange and blinking green once online.
Status LED Indications
| Color | Meaning |
|---|---|
| Blue | No UPB signal |
| Magenta | Received a UPB message |
| Red | Transmitted a UPB message |
Configuring in UPStart Software
- Open UPStart software → Network tab → Powerline Interface panel → click Configure.
- In the "UPB Interface Setup" dialog, set the Interface Type dropdown to "PulseWorx Gateway."
- Click Discover PulseWorx Gateway — UPStart auto-detects the device on the network and fills in its IP address (device ships in DHCP mode). Default network port is 2101.
- If not found automatically, click Discover again; otherwise troubleshoot the network connection.
Setting a Static IP Address (optional)
- Click Network Settings to open the "Gateway Network Settings" dialog.
- Choose Assign Static Address and fill in Static Address, Subnet Mask, Gateway/Router, and DNS fields as needed.
- Note: Keep the static address outside your router's DHCP pool so it doesn't get reassigned.
- After assigning a static address, disconnect UPStart and power-cycle the Gateway for the change to take effect.
Connecting and Verifying
- Once the IP is set, click Connect in the UPB Interface Setup dialog.
- A successful connection log shows checkmarks for: firmware version, startup command mode (Message mode), manufacturer (PCS), product (PIM), UPB Options (high sensitivity), UPB Version, and noise level.
- Click OK on Network Settings, then Close on UPB Interface Setup to finish.
Important Safety Instructions
- Read and follow all safety instructions; save these instructions.
- Keep away from water — if contact occurs, turn off the circuit breaker and unplug immediately.
- Never use the product if it has been dropped or damaged.
- Do not use outdoors, or for any purpose other than intended.
- Do not cover the product with any material.
- Uses a grounded outlet to reduce shock risk — the plug fits only one way; consult an electrician if it doesn't fit your outlet.
Warranty
5-year limited warranty against defects in materials/workmanship from the date of purchase; full details available on the PCS website.