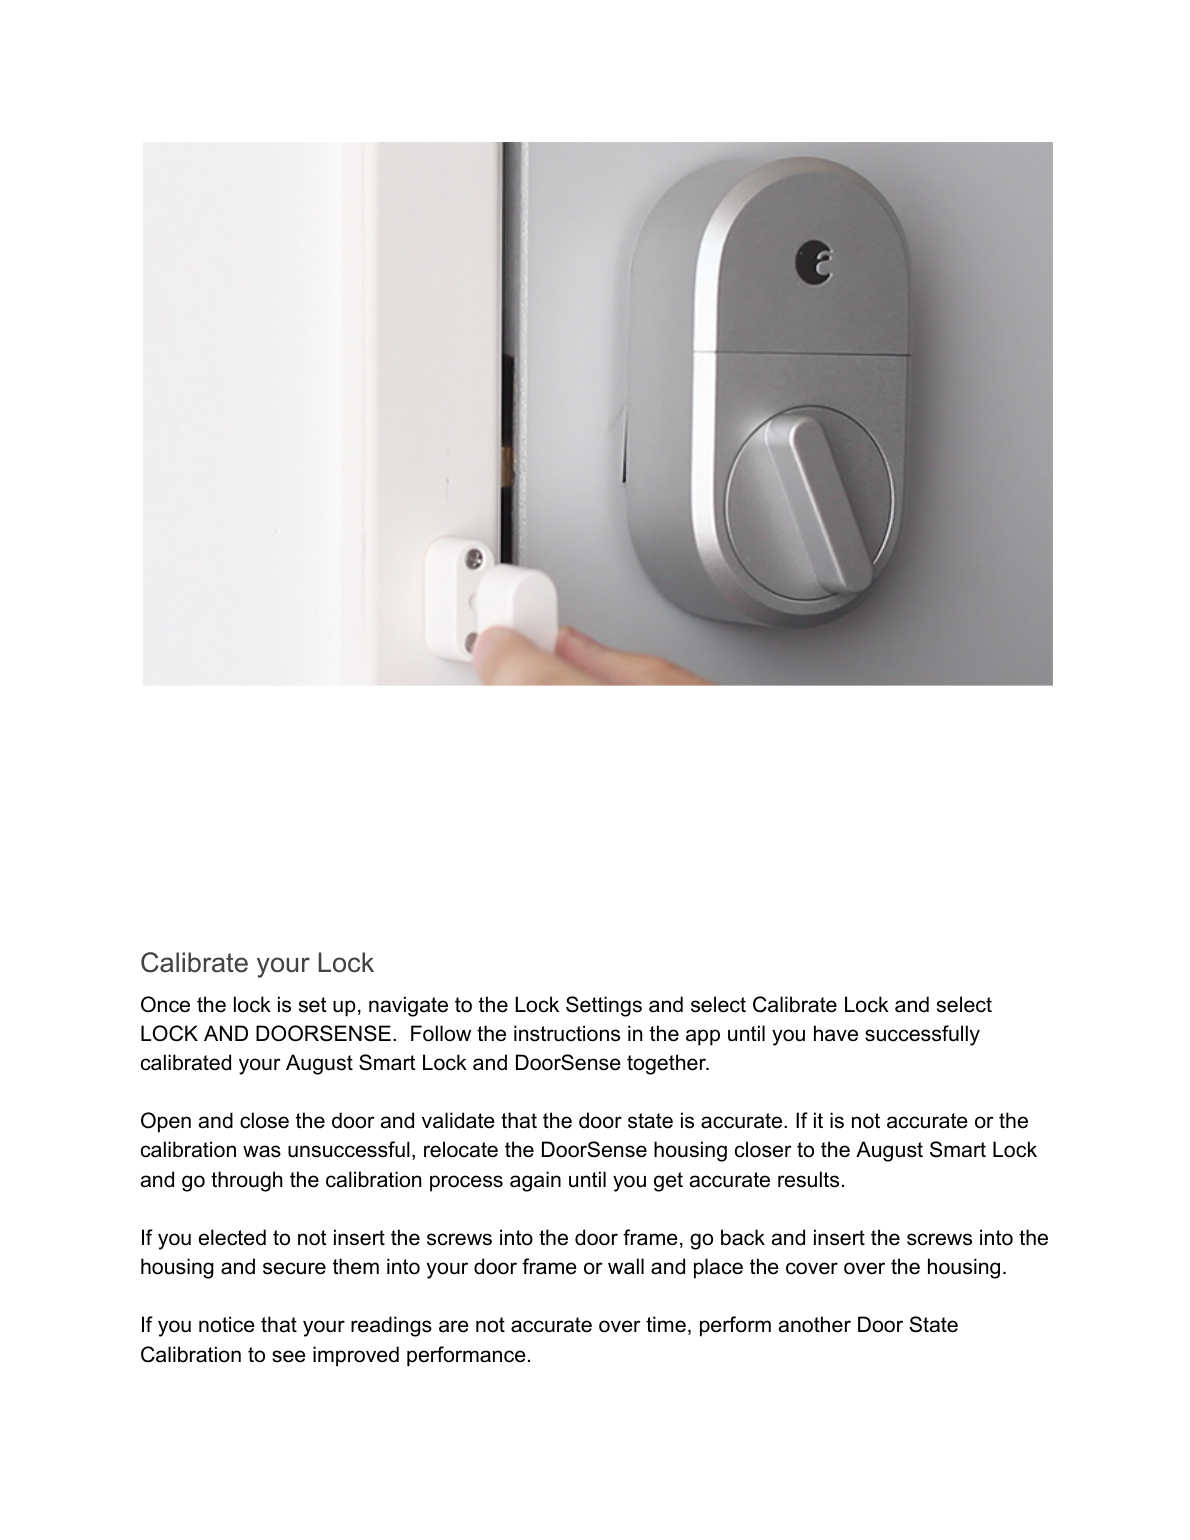
August DoorSense — Smart Lock Door Sensor Installation Manual
Installation manual for DoorSense, the door-position sensor accessory for the August Smart Lock.
Full text manual (for reference)
Installation manual for DoorSense™, the door-position sensor accessory for the August Smart Lock — supports both surface mount and flush mount installation.
Two Installation Options
August provides two installation methods for DoorSense: surface mount (requires only a screwdriver) and flush mount (a cleaner, less visible look with more robust performance, but requires drilling a ⅝" hole into the door frame).
Surface Mount Installation
DoorSense arrives partially assembled for surface mounting, with the magnet enclosure already inside the housing. Only a screwdriver is needed.
- Determine mounting location. For optimal performance, mount DoorSense within 1.5" of the edge of the door frame, and within 1.5" of the top of the extended deadbolt. If the door frame isn't flat, or a perpendicular wall is directly adjacent, DoorSense can be mounted on that wall instead — still using the deadbolt as the height guide.
- Attach mounting tape. Remove one side of the adhesive backing, attach it to the back of DoorSense (aligning edges and screw holes), then remove the other side of the backing.
- Place on door frame. Press the adhesive side onto the frame at the identified mounting position, aligning the pill shape vertically.
- Screw into frame. Hand-tighten DoorSense to the frame using the included screws. (You may want to wait to insert the screws until after the lock is set up and calibrated, to confirm accurate readings before permanently modifying the door frame.)
- Attach the cover. Press the cover onto the DoorSense unit.
Flush Mount Installation
Requires a drill and a ⅝" drill bit. If the door frame is hollow metal, surface mount is the preferred method instead. If flush mounting, take extreme care not to drill the hole too large, or the magnet assembly can fall inside the frame.
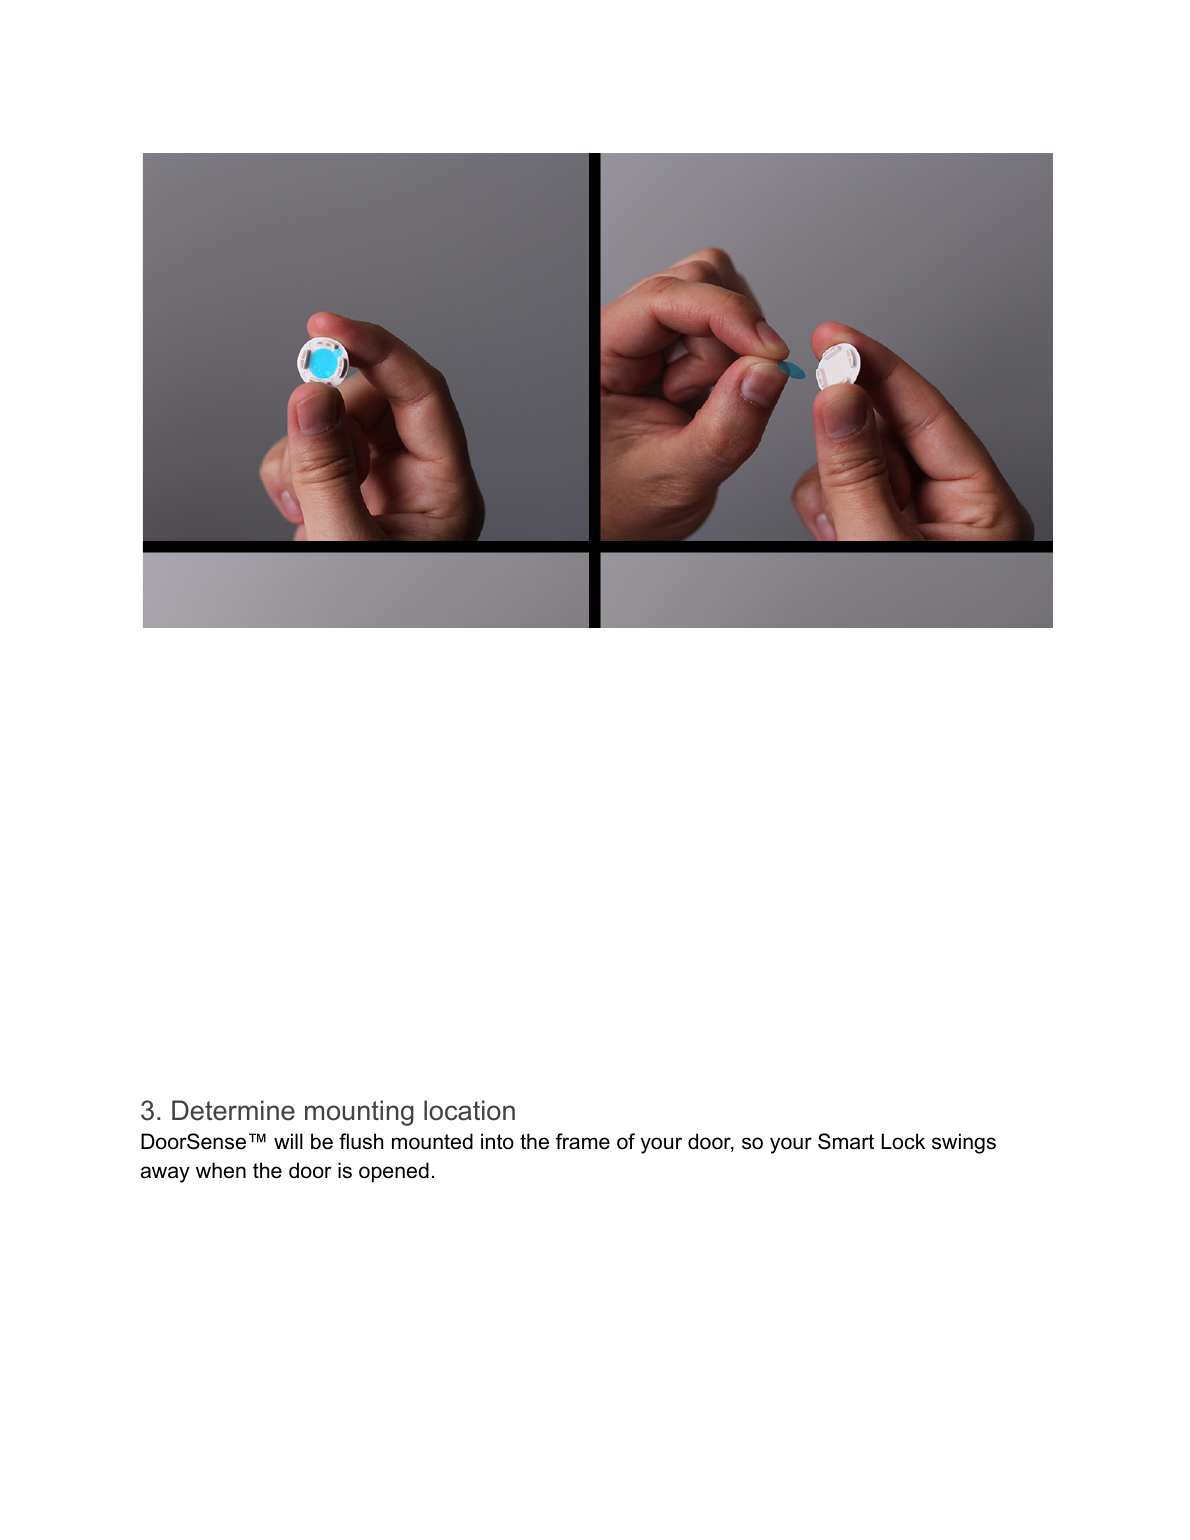
- Remove the magnet from the housing. Using a small blunt object, push the magnet carrier out through the center hole (may require some force).
- Assemble magnet to cap. Remove the blue adhesive backing and press the cap onto the notched side of the magnet carrier until the two shapes interlock.
- Determine mounting location. DoorSense mounts into the door frame so the Smart Lock swings away when opened. Mount no more than 1.5" from the top edge of the deadbolt strike plate, centered on the frame.
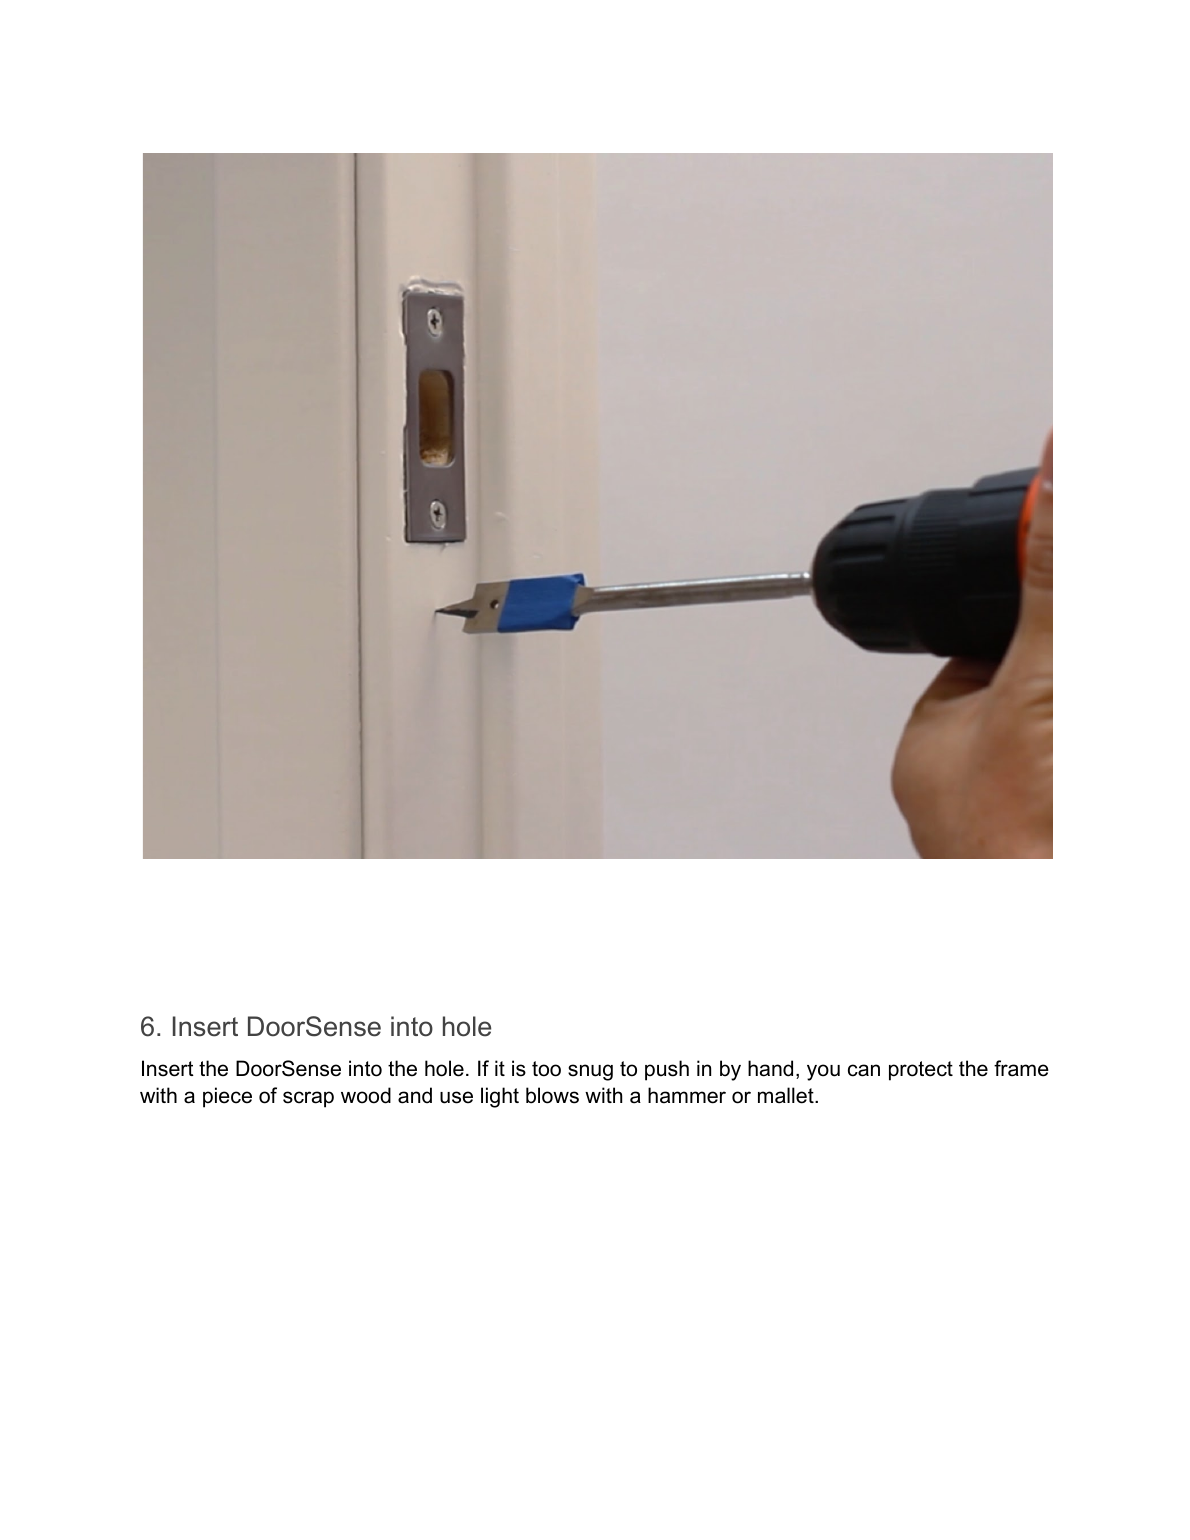
- Tape the drill bit to mark the proper depth — DoorSense requires a ½" deep hole. It may help to use the assembled DoorSense as a depth guide.
- Drill the hole in the marked location, keeping the drill straight and steady.
- Insert DoorSense into the hole. If it's too snug to push in by hand, protect the frame with scrap wood and use light hammer/mallet blows.
Calibrating the Lock
Once the lock is set up, go to Lock Settings in the app and select Calibrate Lock, then LOCK AND DOORSENSE. Follow the app instructions until the August Smart Lock and DoorSense are successfully calibrated together.
Open and close the door and confirm the door state reading is accurate. If it isn't, or calibration failed, relocate the DoorSense housing closer to the August Smart Lock and re-run calibration.
If you left the screws out of the door frame for a surface mount install, insert them now and secure the housing, then replace the cover.
If readings drift out of accuracy over time, re-run Door State Calibration to restore performance.