
Ecolink Z-Wave Plus PIR Motion Sensor with Pet Immunity — Installation Guide
Installation instructions for the Ecolink Z-Wave Plus Motion Sensor with Pet Immunity — network inclusion pairing, mounting options, detection coverage, and internal jumper settings for sensitivity and test mode.
Full text manual (for reference)
Quick reference guide for the Ecolink Z-Wave Plus Motion Sensor with Pet Immunity (PIR-ZWAVE2). This manual is highly illustrated with mounting diagrams and jumper configuration; the images below and the full downloadable PDF walk through Network Inclusion, mounting, and sensitivity/test mode configuration.
Specifications
- Z-Wave Plus wireless PIR motion sensor with selectable pet immunity mode (ignores pets up to a set size)
- Battery powered (see PDF for exact battery type/life and detection radius/angle specs)
- Supports both Corner Mount and Flush Mount installation using the included bracket, adhesive, or screws
Network Inclusion (Pairing)
- Put your Z-Wave controller/hub into "Add Device" / inclusion mode.
- Remove the battery pull-tab (or briefly remove and reinsert a battery) to trigger a wake-up/inclusion signal from the sensor.
- Confirm the sensor has joined the network in your controller's app or interface, then test motion detection.
Key points: The sensor must be woken (battery pulled/reinserted, or tamper cover removed/reattached) to enter inclusion or exclusion mode. If pairing fails, remove the sensor from the network first (exclusion mode) before attempting inclusion again.
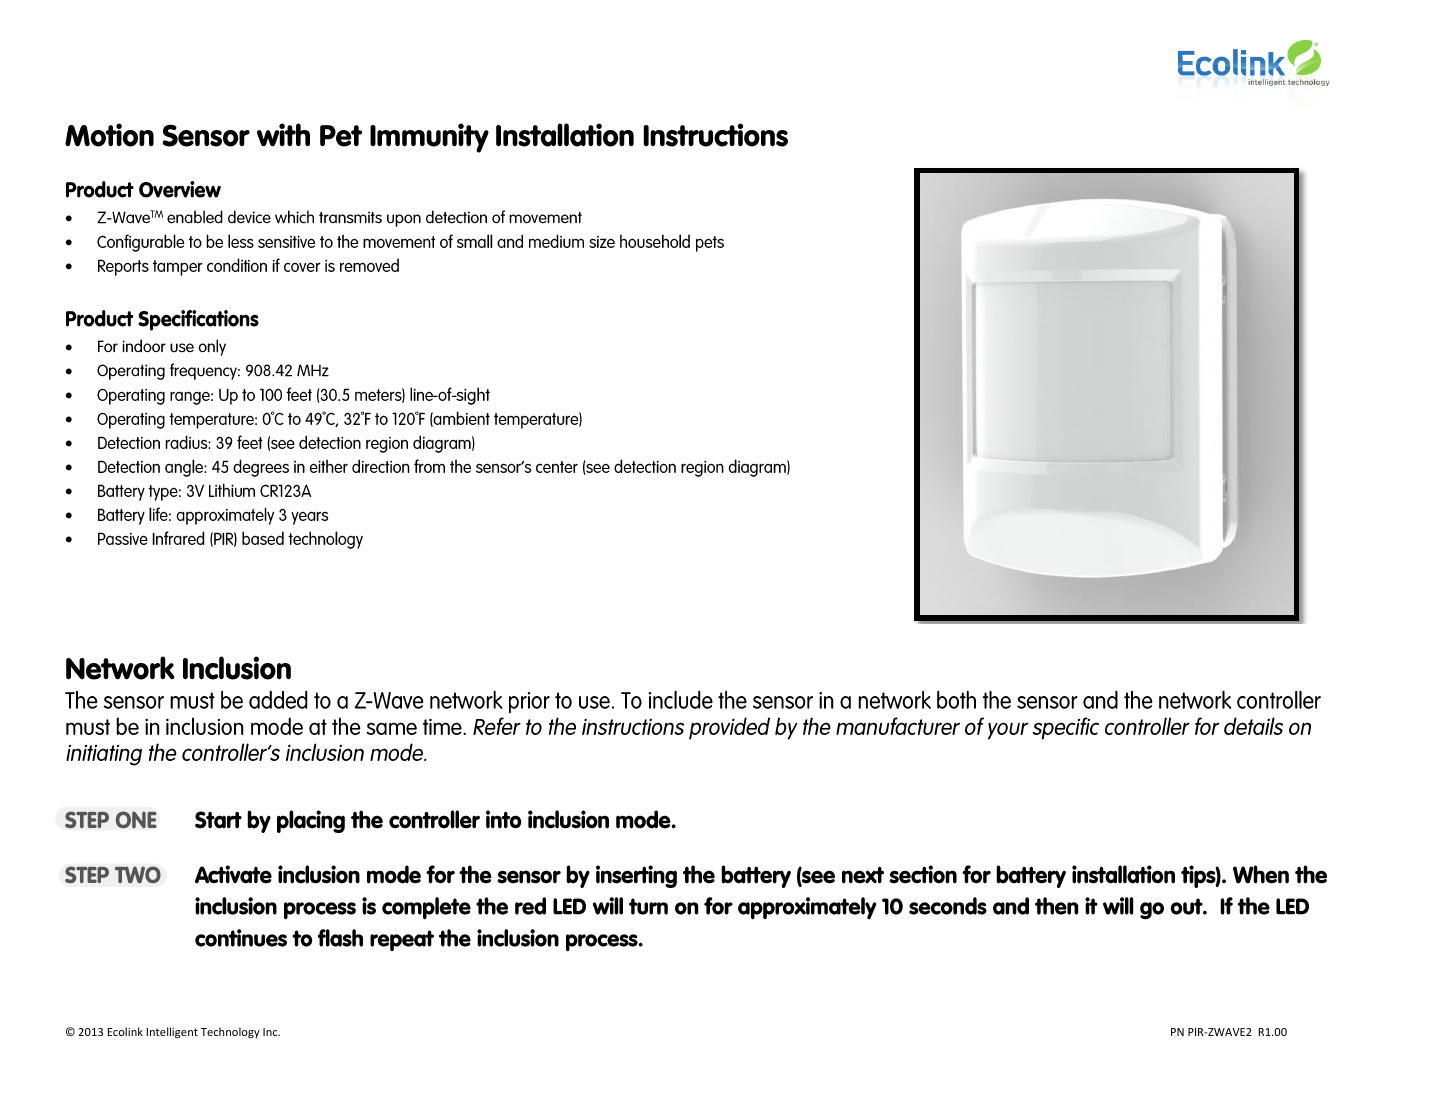
Battery Installation
Remove the battery pull-tab, taking care to observe correct battery orientation (polarity) as shown on the battery compartment label. Reinserting or removing the battery also triggers the wake-up signal used for network inclusion/exclusion.
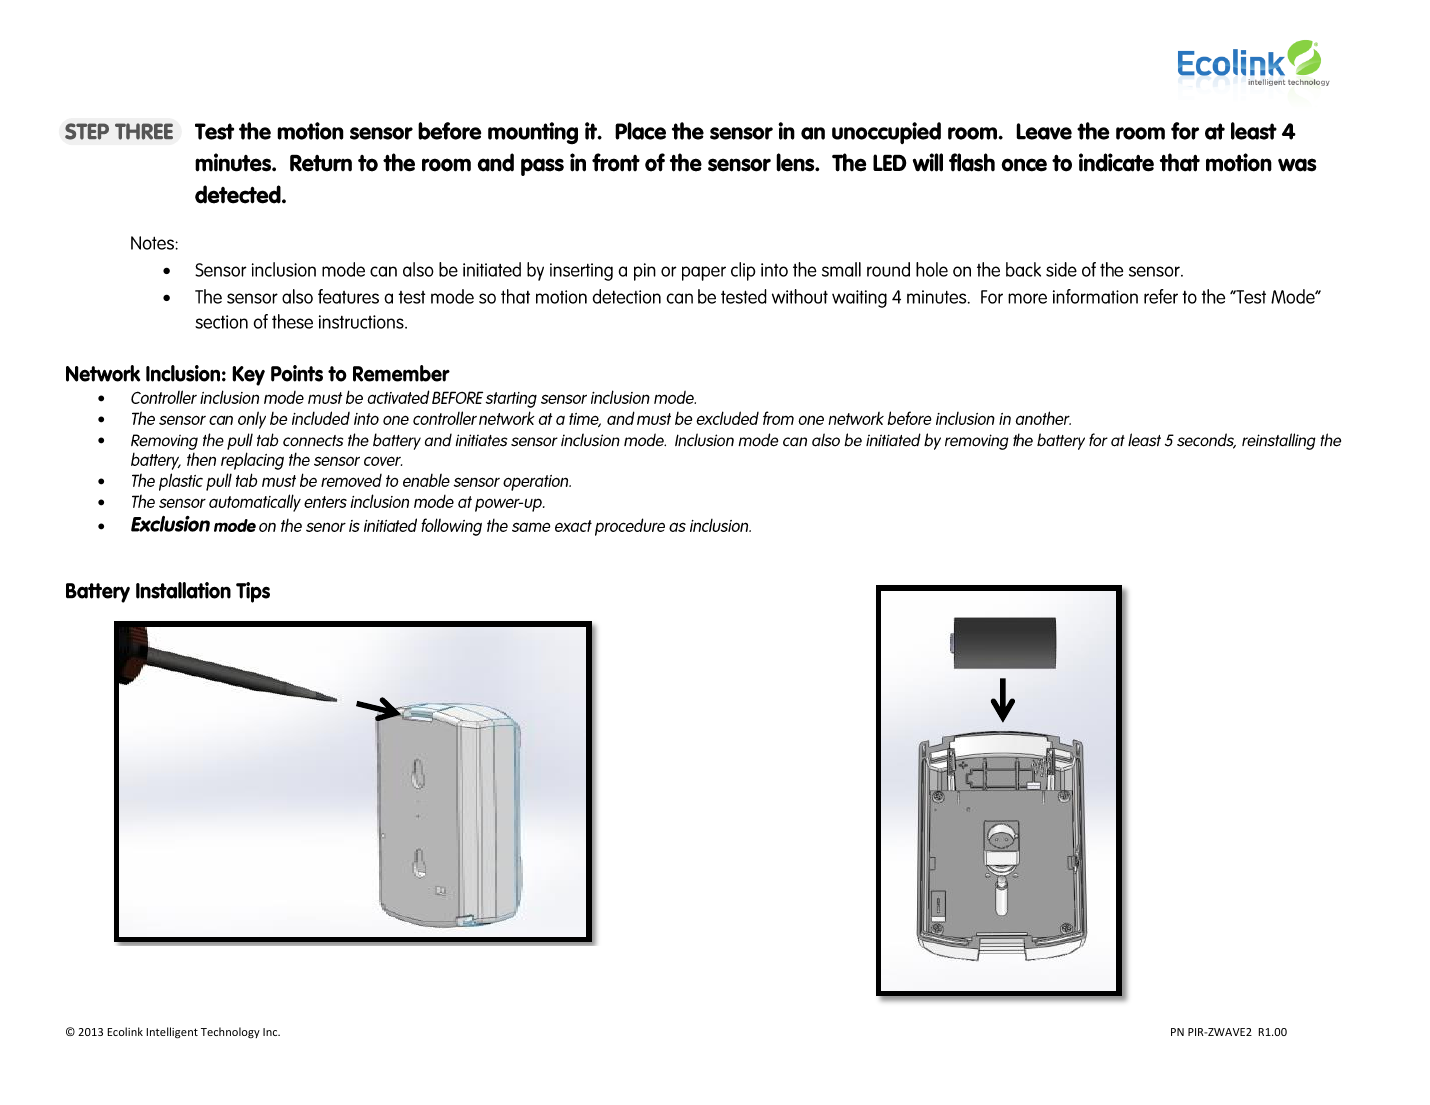
Mounting
Package contents include the sensor, mounting bracket, adhesive pad, and screws. Two mounting methods are supported:
- Corner Mount — mounts the bracket in a room corner for wide-angle coverage.
- Flush Mount — mounts the bracket flat against a wall or ceiling surface.
Attach the bracket using the adhesive pad (no tools) or screws (permanent mount), then snap the sensor onto the bracket.
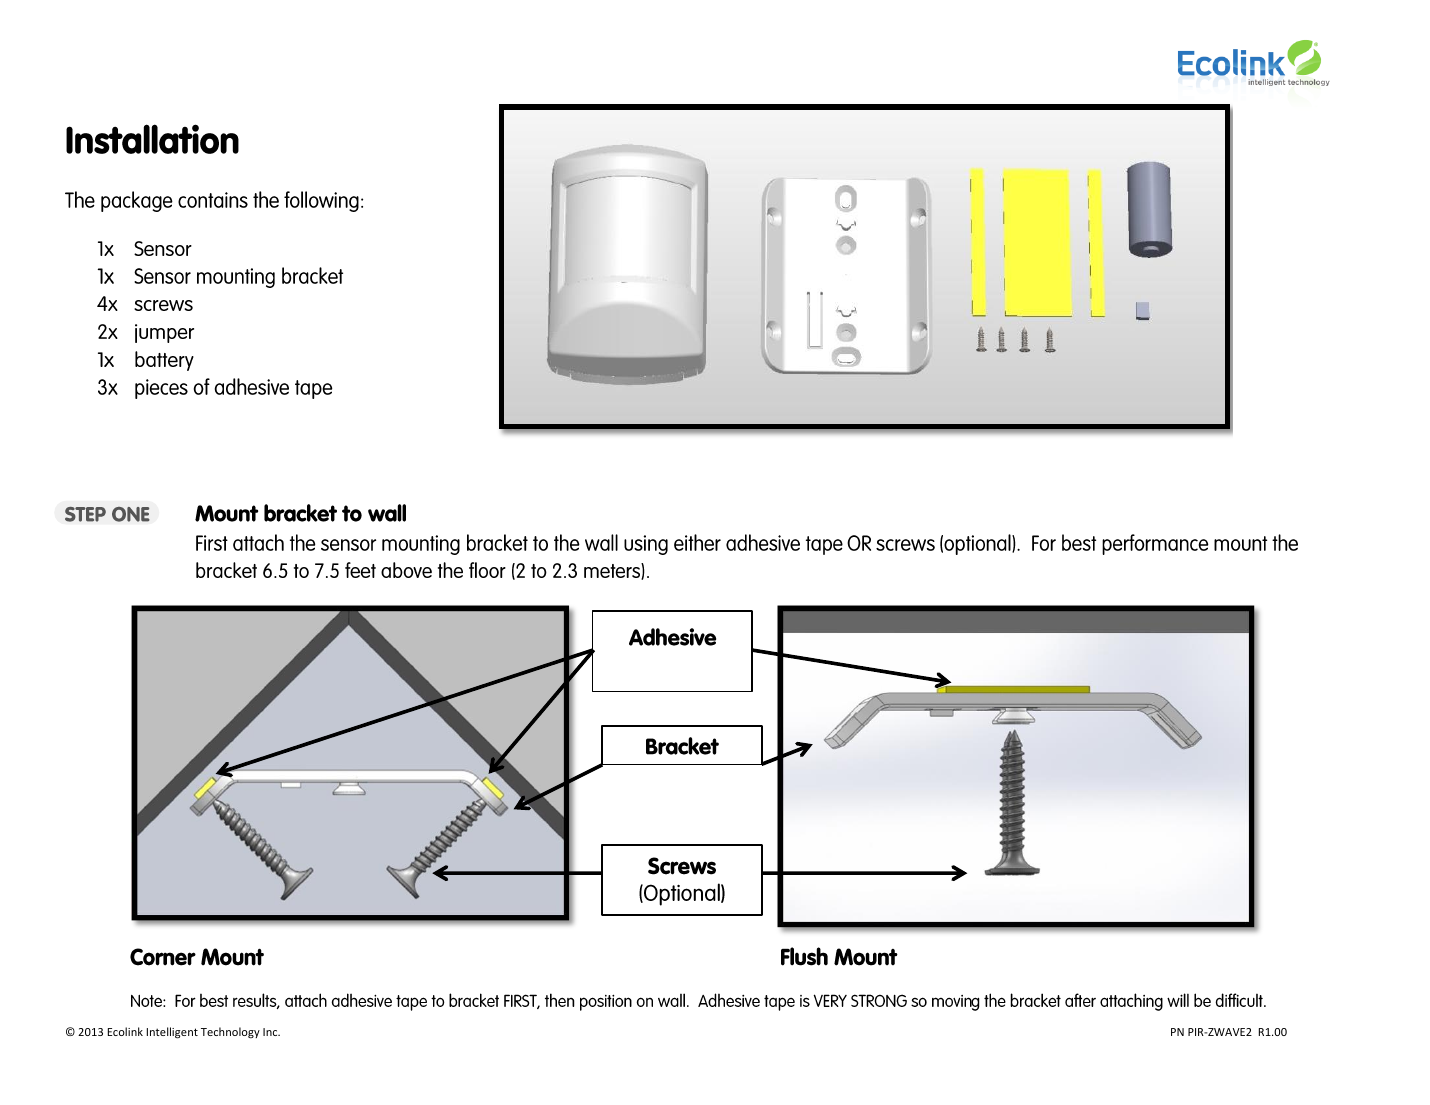
Placement & Detection Pattern
After attaching the sensor to the bracket (Step 2), consider the motion detector's coverage pattern before finalizing placement — the sensor has a wide-angle detection zone shown as a polar diagram of angle vs. distance in the manual. Position the sensor to cover the intended area while avoiding false triggers from HVAC vents, windows facing direct sun, or areas with frequent pet traffic if pet immunity isn't enabled.
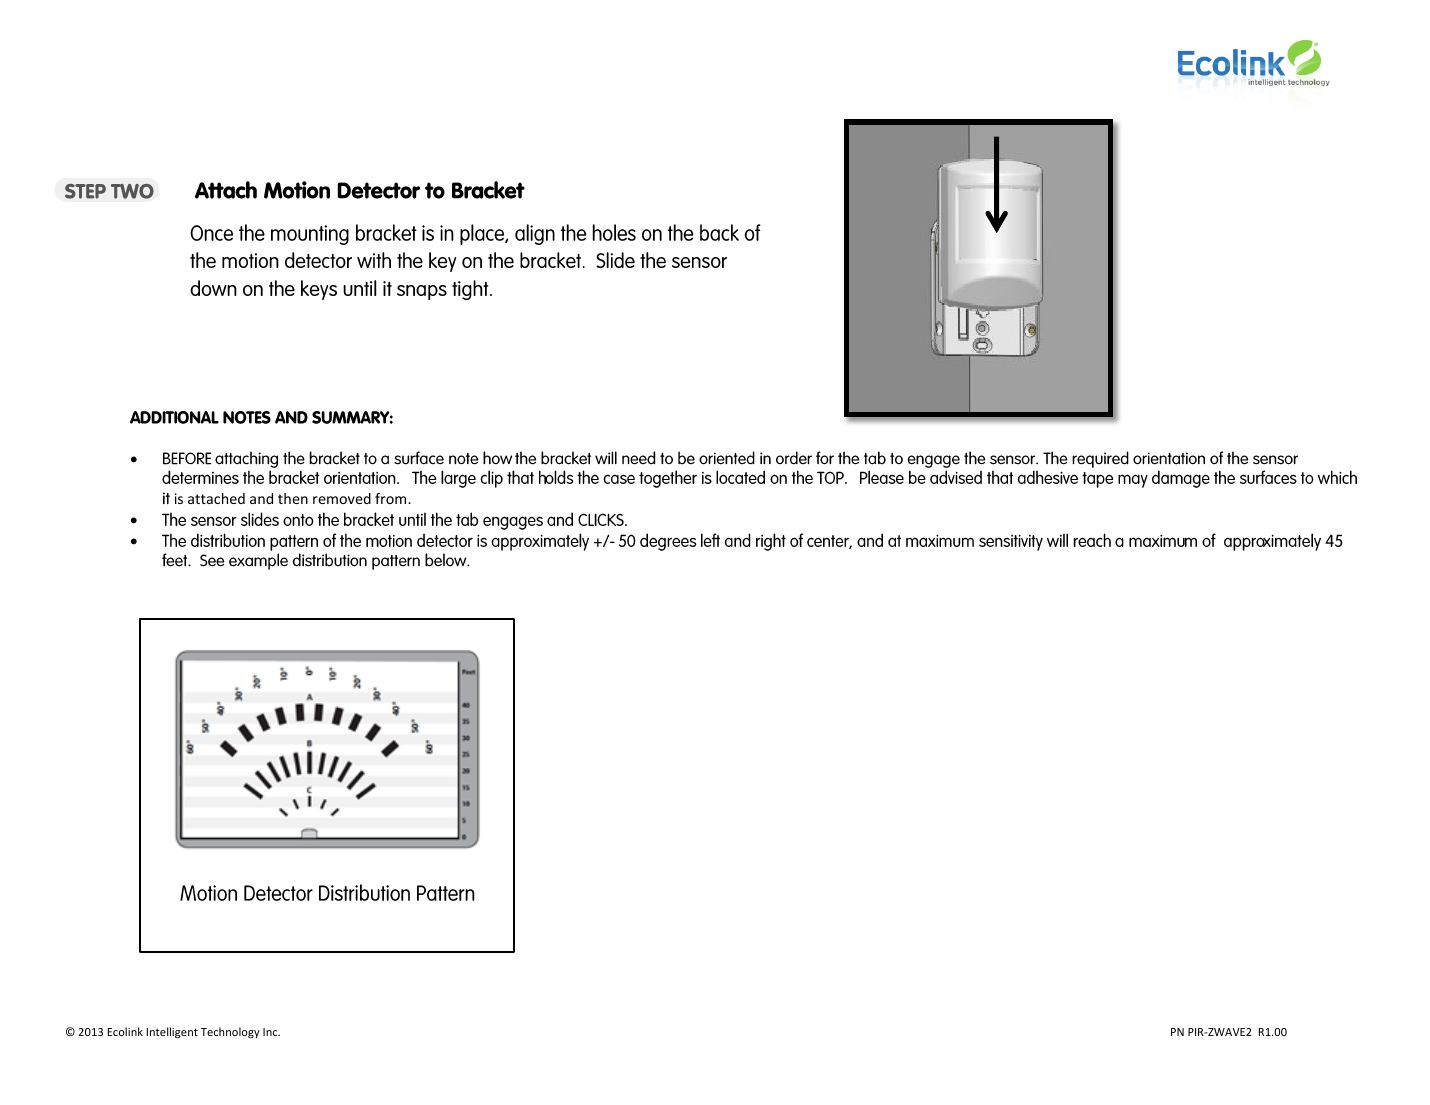
Sensitivity & Test Mode (Internal Jumpers)
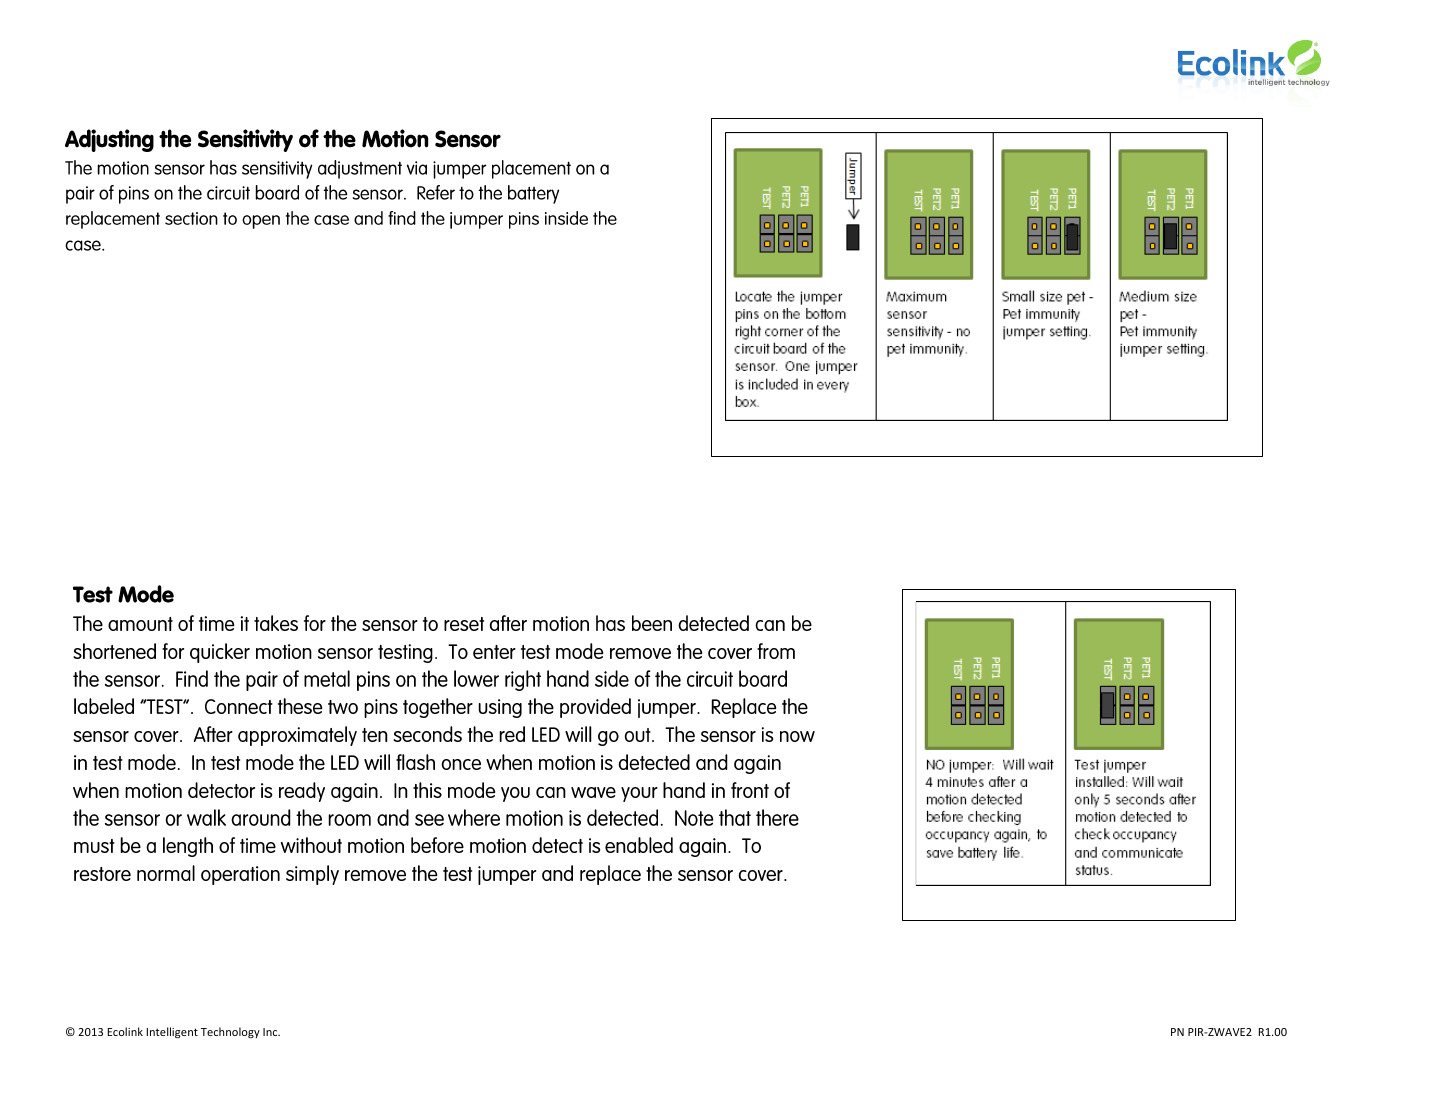
Inside the sensor housing, jumper pins control two settings:
- Sensitivity / Pet Immunity — jumper position selects between Maximum Sensitivity (no pet immunity) and Small/Medium Pet Immunity (ignores motion from pets up to a certain size/weight).
- Test Mode — a separate jumper enables Test Mode, which speeds up the sensor's re-trigger interval so you can quickly verify detection and coverage while walking the room (remove/reposition the jumper to return to normal battery-saving operation).
Regulatory & Warranty
This device complies with FCC and Industry Canada regulations for unlicensed radio equipment. See the full PDF for the complete compliance statement, warranty terms, and Ecolink Intelligent Technology contact information.