
Chamberlain Belt Drive Garage Door Opener (B2202/B2212T/B2405/B4505T) — Quick Reference
Quick reference: safety warnings, maintenance schedule, troubleshooting diagnostics, and key installation diagrams for the Chamberlain Belt Drive Garage Door Opener (B2202, B2212T, B2405, B4505T).
Full text manual (for reference)
Quick reference guide for the Chamberlain Belt Drive Garage Door Opener — Models B2202, B2212T, B2405, B4505T. This manual is highly illustrated; the diagrams below and the full downloadable PDF cover step-by-step installation. This page summarizes the safety essentials, maintenance schedule, and troubleshooting diagnostics you'll want for quick reference after installation.
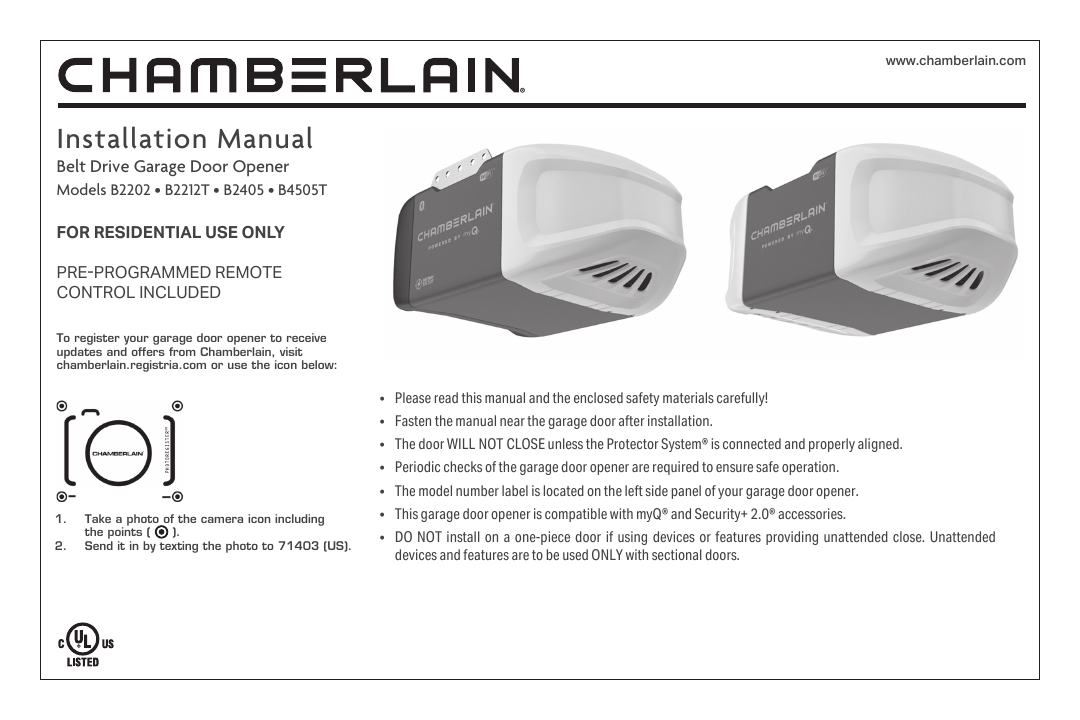
For Residential Use Only. This garage door opener is compatible with myQ® and Security+ 2.0® accessories. Pre-programmed remote control included.
Critical Safety Warnings
- The door WILL NOT CLOSE unless the Protector System® (safety reversing sensors) is connected and properly aligned.
- ALWAYS call a trained door systems technician if the garage door binds, sticks, or is out of balance — an unbalanced door may NOT reverse when required.
- NEVER try to loosen, move, or adjust the garage door, door springs, cables, pulleys, brackets, or hardware — all of which are under EXTREME tension.
- Disable ALL locks and remove ALL ropes connected to the garage door BEFORE installation and operation, to avoid entanglement.
- DO NOT install on a one-piece door if using devices/features providing unattended close (e.g. Timer-to-Close, myQ® App). Unattended-close features are for sectional doors ONLY.
- Header bracket MUST be rigidly fastened to structural support — DO NOT install over drywall.
- Mount the emergency release within reach, but at least 6 feet (1.83 m) above the floor, avoiding contact with vehicles.
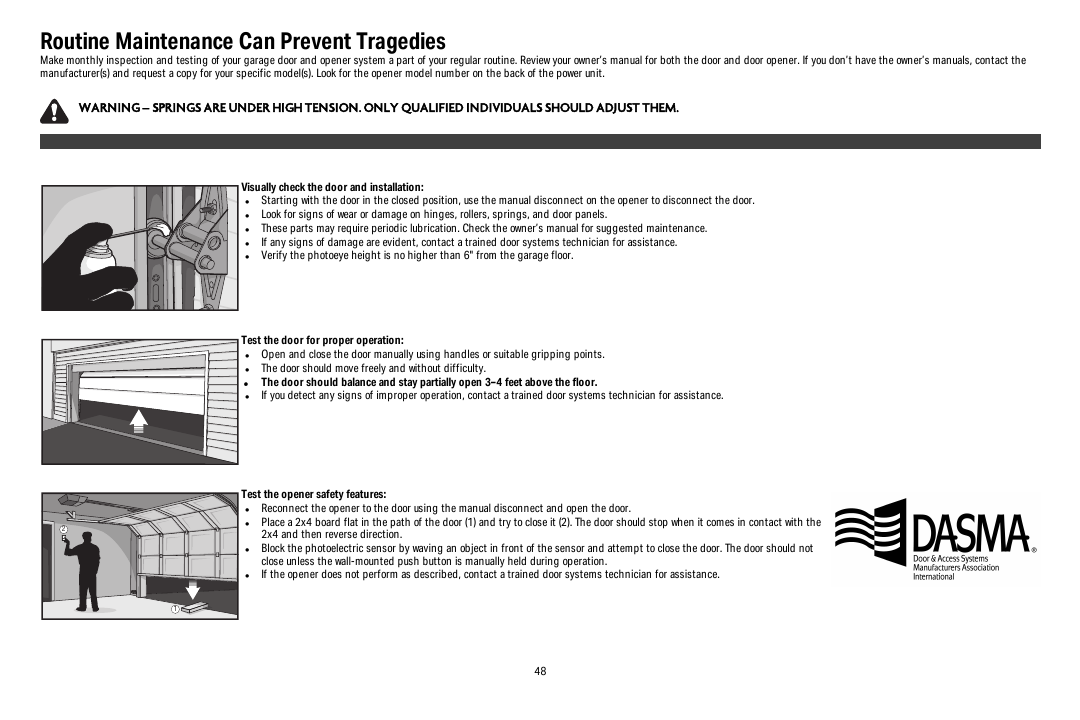
- Upon completion of installation, test the safety reversal system — the door MUST reverse on contact with a 1-1/2" (3.8 cm) high object (or a 2x4 laid flat) on the floor.
Installation Overview
Full illustrated steps are in the downloadable PDF. High-level sequence:
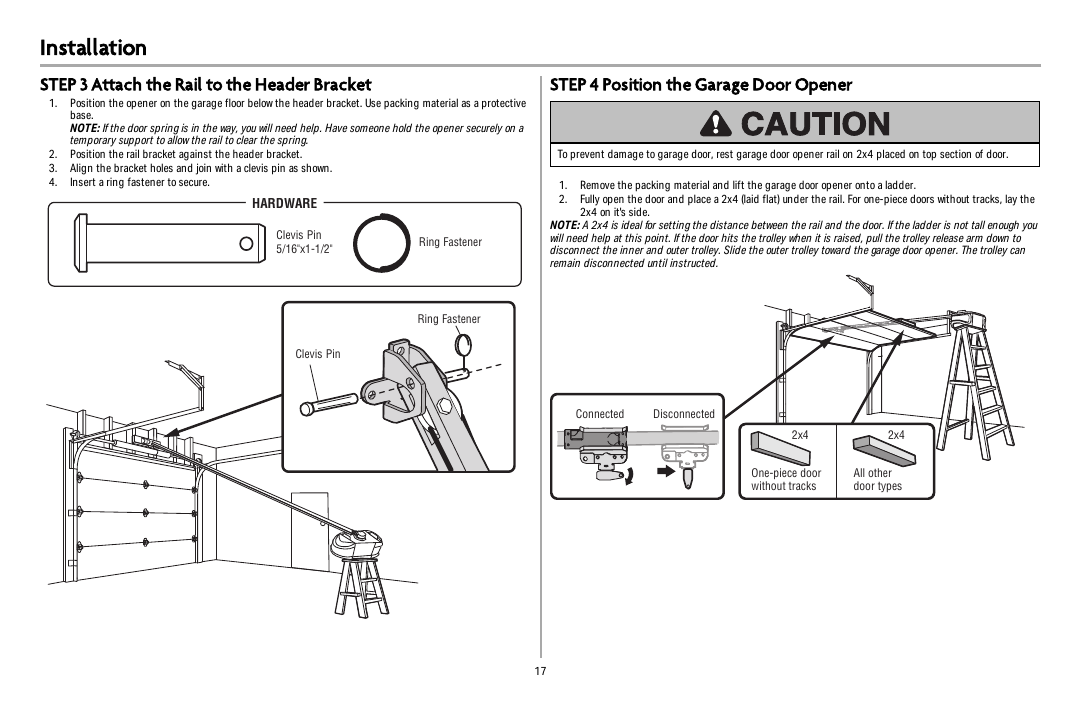
- Assemble the rail and install the trolley, belt, and sprocket cover
- Determine header bracket location and install (wall or ceiling mount)
- Attach rail to header bracket, position and hang the garage door opener
- Install light bulbs (A19 bulbs only — LED bulbs recommended, no incandescent over 100W)
- Attach the emergency release rope and handle
- Install the door bracket (sectional or one-piece door options)
- Connect the door arm to the trolley
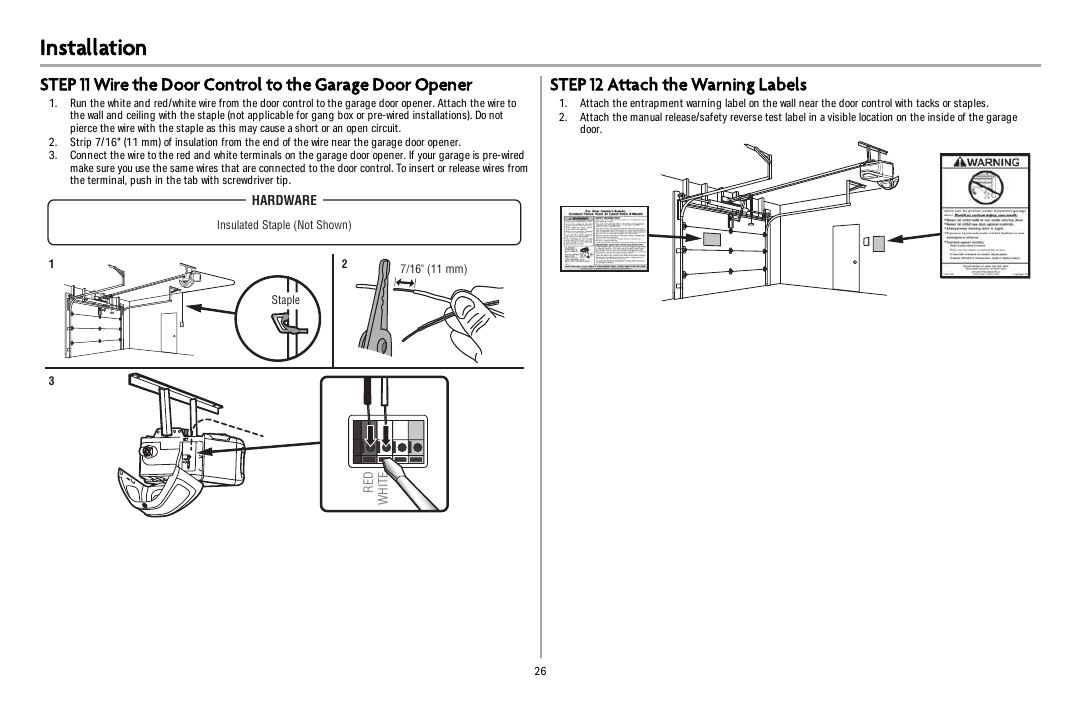
- Install the door control and Protector System® safety reversing sensors
- Connect power, adjust travel limits, and test the safety reversal system
- Set up myQ® App control and connect to Wi-Fi® (if desired)
Installation Reference Photos
Maintenance Schedule
Every month:
- Manually operate the door — if unbalanced or binding, call a trained door systems technician.
- Check that the door opens and closes fully; adjust if necessary.
- Test the safety reversal system; adjust if necessary.
Every year:
- Oil door rollers, bearings, and hinges. (The opener itself does not require additional lubrication — do not grease the door tracks.)
- Test the battery backup and consider replacing the battery.
Remote control battery: Replace ONLY with 3V CR2032 coin batteries — should last up to 3 years. Low battery is indicated when the remote's LED doesn't flash on button press.
Troubleshooting — Diagnostic Codes
The garage door opener has self-diagnostic capability — the UP and DOWN arrows flash diagnostic codes.
| Code | Symptom | Solution |
|---|---|---|
| 1-1 | Opener won't close, lights flash | Safety reversing sensors not installed/connected, or wires cut. Inspect sensor wires. |
| 1-2 | Opener won't close, lights flash | Short or reversed wire for safety sensors. Inspect at staple/connection points, replace or correct wire. |
| 1-3 | Door control won't function | Door control wires shorted or control faulty. Inspect wires, replace or correct. |
| 1-4 | Opener won't close, lights flash | Sensors misaligned or momentarily obstructed. Realign until both LEDs glow steady. |
| 1-5 | Door moves 6-8" then stops/reverses | Check for binding/obstruction (broken spring, door lock). Check travel module and logic board wiring; replace travel module if needed. |
| 1-6 | Door coasts after stopping | Program travel to coasting position, or have door balanced by a trained technician. |
| 2 / 1-5 | No movement or sound | Replace logic board. |
| 3-2 | Unable to set/retain travel | Check travel module assembly, replace if necessary. |
| 3-3 | Battery status LED flashing green constantly | Battery backup charging circuit error — replace logic board. |
| 4-1 to 4-4 | Door moves, stops/reverses; opener beeps and lights flash | Check for binding. If door isn't binding, attempt to reprogram travel. |
| 4-5 | Opener runs 6-8", stops, reverses | Communication error to travel module. Check connections, replace travel module if needed. |
| 4-6 | Opener won't close, lights flash | Sensors misaligned/obstructed. Realign both to steady (non-flickering) LEDs. |
Additional Troubleshooting
- Opener stops, reverses, beeps, flashes lights: May be triggered by Timer-to-Close or garage door monitor features. Check for binding/obstructions along the track.
- Remote won't activate the door: Verify the lock feature isn't active on the door control; reprogram the remote; check diagnostic codes.
- Door won't close, lights blink: Safety reversing sensors must be connected and aligned before the opener will move down. Check for obstructions and sensor alignment; if the receiving sensor faces direct sunlight, swap it with the sending sensor.
- Neighbor's remote opens your door: Erase the opener's memory and reprogram your remote control(s).
- Won't enter Wi-Fi® learn mode: The opener must complete a full open/close cycle after installation or a power outage before Wi-Fi learn mode can be activated.
- Vehicle's HomeLink® won't program: A Compatibility Bridge (not included) may be necessary for certain vehicles — check bridge.chamberlain.com.
Specifications
- Models: B2202, B2212T, B2405, B4505T (belt drive)
- Light bulbs: A19 type only. No incandescent over 100W, no compact fluorescent over 26W, no halogen or specialty bulbs. LED bulbs recommended (see chamberlain.com/bulb) — some LED bulbs may cause remote control radio interference.
- Remote control battery: 3V CR2032 coin cell
- Compatible accessories: myQ®, Security+ 2.0®
- B2212T and B4505T include battery backup capability