
PCS PulseWorx ILC In-Line Choke — Installation Guide
Installation guide for the PCS PulseWorx ILC In-Line Choke, which filters powerline noise that could interfere with UPB communication.
Full text manual (for reference)
Installation guide for the PCS PulseWorx ILC In-Line Choke — a small wire-in electronic choke that filters electrical noise from devices that could otherwise interfere with UPB powerline communication.
Function
The ILC In-Line Choke is designed to be installed on electrical or electronic devices that generate noise on the powerline, keeping that noise from reaching and disrupting UPB-based product communication. The ILC is rated at 1.8 Amps maximum at 120VAC.
Why You'd Need an ILC
Devices connected to the power mains — electronic fluorescent ballasts, motors, and similar equipment — can generate significant electrical noise severe enough to interfere with reliable UPB communication. Adding an In-Line Choke to the offending device significantly minimizes the noise injected onto the powerline. Note: when ballasts are run in parallel, an ILC may be needed at each unit, since noise from multiple ballasts is additive.
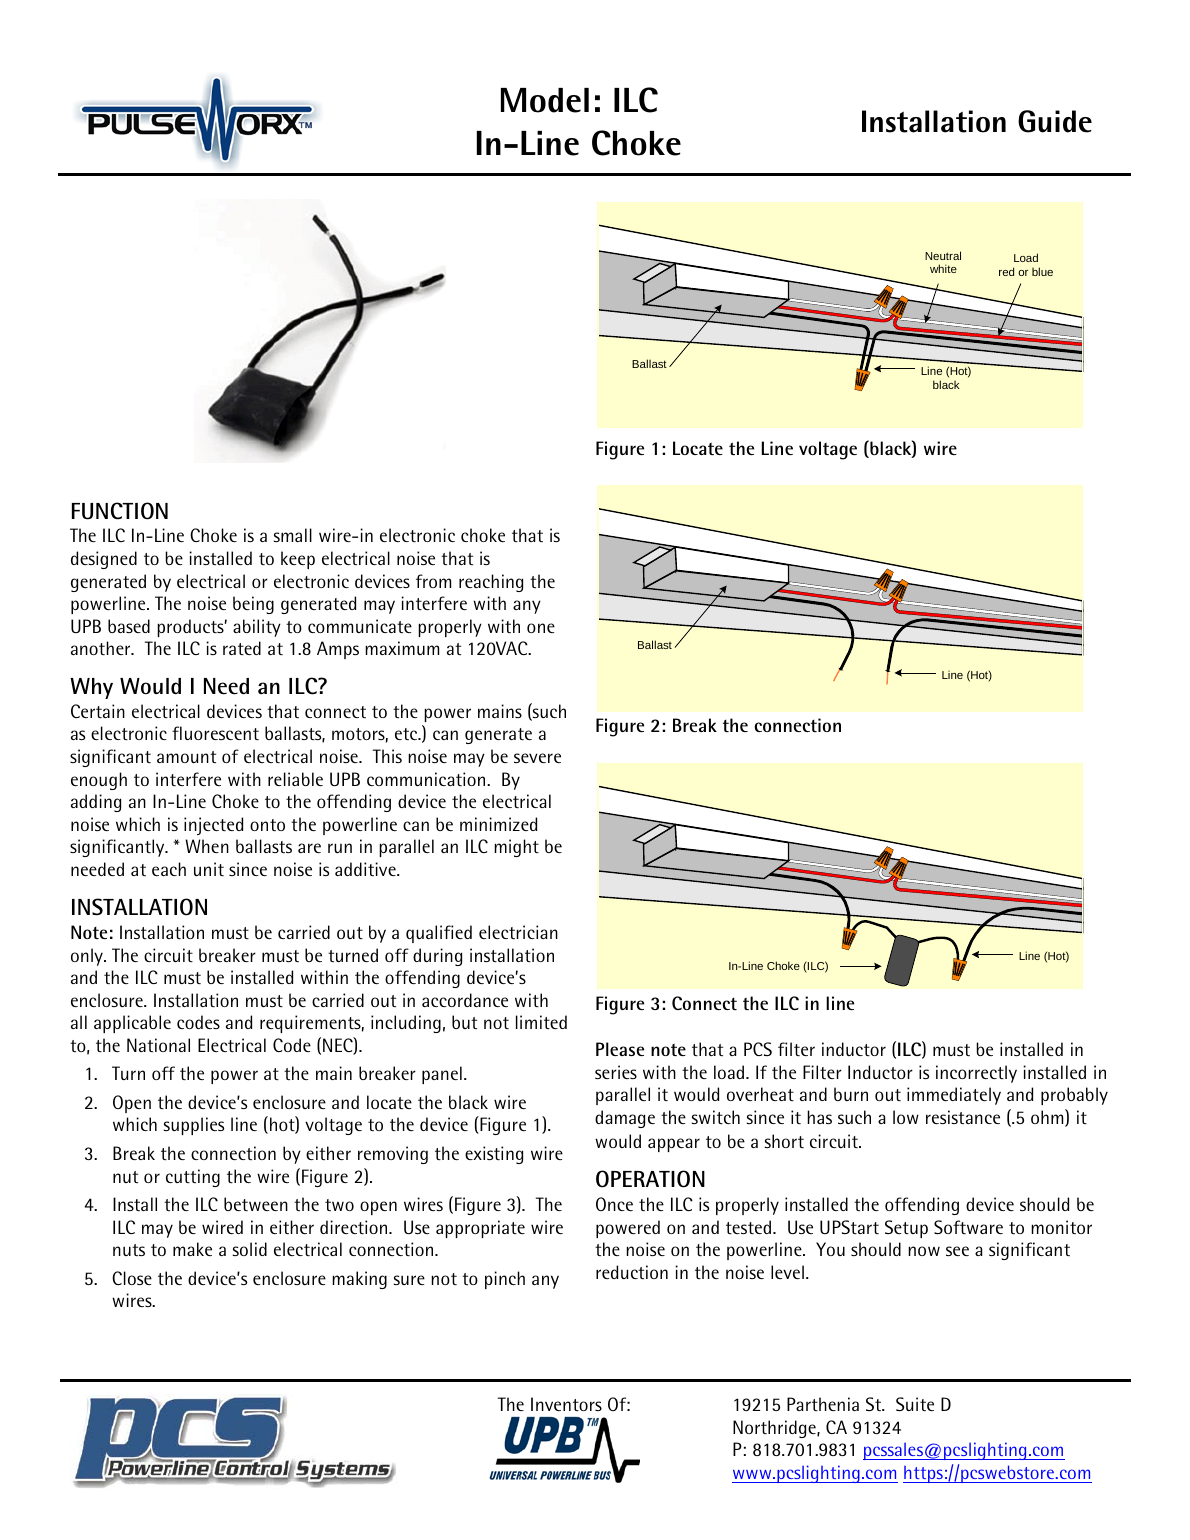
Installation
Installation must be carried out by a qualified electrician only. The circuit breaker must be turned off during installation, and the ILC must be installed within the offending device's enclosure, in accordance with all applicable codes including the National Electrical Code (NEC).
- Turn off the power at the main breaker panel.
- Open the device's enclosure and locate the black wire supplying line (hot) voltage to the device.
- Break the connection by either removing the existing wire nut or cutting the wire.
- Install the ILC between the two open wires. The ILC may be wired in either direction. Use appropriate wire nuts to make a solid electrical connection.
- Close the device's enclosure, making sure not to pinch any wires.
Important: The ILC must be installed in series with the load. If installed in parallel by mistake, it will overheat and burn out immediately — its low resistance (0.5 ohm) would appear to be a short circuit and could damage the switch.
Operation
Once the ILC is properly installed, power on the offending device and test it. Use UPStart Setup Software to monitor noise on the powerline — you should see a significant reduction in the noise level.
Specifications
- Model: ILC
- Maximum rating: 1.8 Amps at 120VAC
- Wiring: bidirectional — may be installed in either direction, must be in series with the load